My first fondant cake
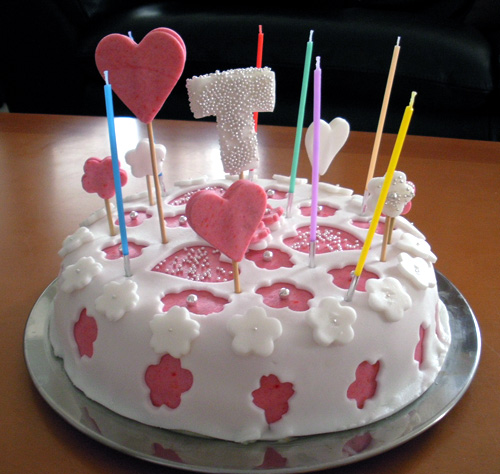
Tracey had a birthday yesterday and I offered to make her a cake. I wanted to do something special, so I had my first go at fondant. I made it myself using the recipe below and though it took some time and physical effort, it wasn’t too difficult at all. This is technically a sugarpaste or rolled fondant, as traditional fondant is cooked like a candy. This one is uncooked - just mix and knead. Making fondant is like making pasta from scratch. This fondant was moist and tasty, easy to roll and color. Due to the gelatin, it is not vegetarian.
The rest of Tracey’s cake, in case you wonder, was two layers of cardamom and ginger scented sponge, filled with plum jam and coated with white chocolate ganache before layering on the fondant. It was delicious.
Kristen’s Sugarpaste Fondant
makes enough for a two layer cake with decorations and leftovers
1 T unflavored gelatin
1/4 cup hot water
1 t almond extract or flavoring of your choice
1/2 c + 1 T light corn syrup
1 kg confectioner’s (powdered) sugar
1/2 tsp shortening (white, not butter or margarine)
In a small bowl or pan, mix together the gelatin and water. Allow to sit for a minute to soften the gelatin. Add the corn syrup and flavoring. Stir until the gelatin is dissolved and the mixture is not cloudy. You may need to reheat the mixture to aid this process - you can do it on the stove (being careful not to carmelise the syrup) or in the microwave if you have one. Set aside.
Dump 750 g of the sugar into a large bowl. Make a well in the sugar and pour in the gelatin mixture. Stir with a wooden spoon until you have a large, sticky ball.
Dust a clean work surface with some powdered sugar. Tip out the remaining sugar into a pile nearby - you will be working this sugar into the fondant. Measure out the shortening and have it handy. Make sure you have removed your rings and bracelets because this is seriously sticky stuff. Transfer the ball from the bowl to the work surface and begin to knead. Slowly work in as much of the sugar pile as you can. (Dipping your sugar coated hands into the pile is a good way to do it, I found.) As the fondant is kneaded, it will form a nice soft ball. When that happens, you can stop. Rub the shortening on the ball and work it in with a last bit of kneading. Divide fondant into two or three discs, wrap the fondant tightly in plastic wrap. You can store the wrapped fondant in an airtight container in the fridge for a few days.
Coloring the fondant
The ideal colorant is gel color, but regular liquid food coloring or coloring powder will work, too. Start with a little bit of coloring and knead it in. Pulling and twisting, ala taffy, helps the color spread through quickly. Repeat with more color until you get the shade you want. Liquid color can make the fondant too soft, so you may not achieve the intensity of color you want. Gel color is concentrated and will make very bright, deep colors. Powdered color can be mixed with a bit of oil to make it easier to work with.
Rolling the fondant, forming shapes, and assembling the cake
Bring the fondant to room temperature if it has been refrigerated. Sprinkle the work surface with powdered sugar. Place one unwrapped disc on the work surface and roll with a pin. Turn the disc to keep the circle even, but do not flip the fondant over. Work this way until the fondant is stretched evenly and flat and is at least as wide as the cake plus allowance for the height of the sides.
Carefully lift the rolled fondant from the work surface. Lay the fondant over the cake (which you have already filled and possibly coated with ganache or smooth frosting) and smooth it across the top and sides, stretching and smoothing it gently to create a wrinkle-free surface. Trim at the bottom along the plate- the fondant may contract a little bit. Allow to dry.
You can use cookie cutters or a knife to cut out shapes from the flattened disc or trimmings. To mount a shape on a stick or skewer, either use royal icing to glue the skewer to the shape, or cut two shapes, dampen them slightly on one side and press them together with the skewer between. Allow to dry. To stick shapes to the cake, either use royal icing or dampen the shape and stick it to the main cake before it dries.
It was just so very pretty!
Posted by: MJD-S on August 14, 2009 01:47 PM