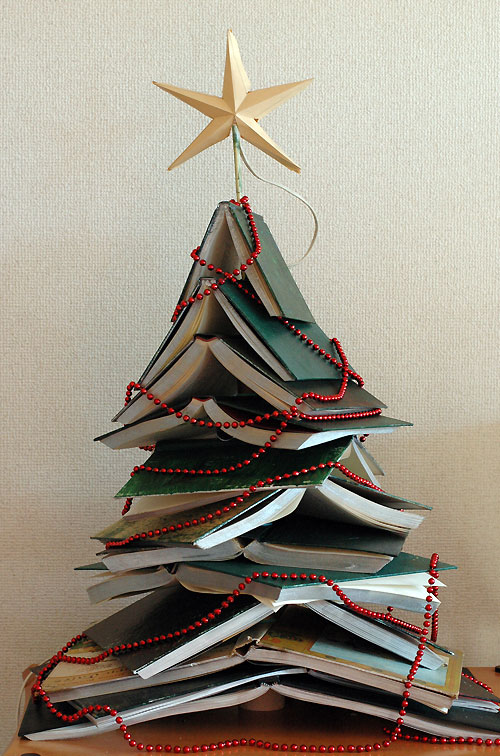
For the past nine years I’ve crafted a Christmas tree out of found objects, bits and pieces, useless odds and ends and occasionally a purchased item or two. This year, we had a box of books that we’d been trying to give away since the summer. A dozen hardcover castoffs became the foundation of the Christmas tree.
I am especially pleased with the way this tree turned out. But it was a 4-step process that took most of an afternoon, so I couldn’t do the complete construction on Christmas Day in my usual tradition. Here’s how it worked, in case you want to try one yourself.
Step 1: Drill This caused a bit of controversy in the household. Tod didn’t want to hurt the books. I wanted to spike them so they wouldn’t collapse. He went to work without a better suggestion and so I drilled the books by opening each book to its center spread, laying it page-side down and using a hand drill through the middle of the spine.
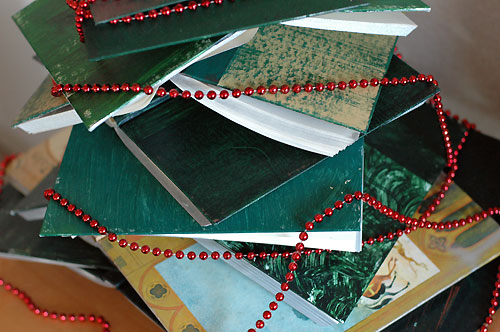
Mix and match painted covers
Step 2: Paint I silvered the edges of the pages with spray paint to make them consistent. The titles ranged from Great Grillin’ to a 1963 children’s edition of the Canterbury Tales and the covers were a range of tacky and plain so I decided to paint them with a mix of green acrylic paints. Because I like the artwork on the Canterbury Tales, I left that one unpainted and dry brushed any of the beige books to coordinate, while giving good coverage to the blue, black and red tomes.

Spools of thread between books make space for lights
Step 3: Assemble This was a little bit harder than I expected. It took several attempts to get the spacing and shape right so I was sliding books on and off my dowel rod multiple times. The dowel I used was thin and flexible, so the tree leans a bit. I slipped a small spool of brown thread on the dowel after each group of three books. This enforced a few inverted Vs big enough for the lights.

Just like a real tree, I need to rearrange the lights - there are some dark patches!
Step 4: Light I topped the dowel with a cut-and-glued star made from a manila envelope, and tucked a string of colored bulbs in the spaces between books. This makes the tree glow gently in the dark.
Posted by kuri at December 21, 2009 12:19 PMThis is both beautiful and brilliant. What a wonderful, non-wasteful idea. I have a tree in a pot that I use as a Christmas tree.
Posted by: kirsty_girl on December 21, 2009 02:45 PMFabulous! I am amazed by how great it looks. Well done!
Posted by: Virginia Lee on December 21, 2009 04:16 PMLove it! I think I like it even better in the light so you can really see the painting you did on the covers. It’s beautiful!
Posted by: Jennifer on December 21, 2009 08:26 PMbeautiful!
Posted by: deco on December 21, 2009 11:47 PMThe bookworm’s Christmas tree! Its just gorgeous!
Posted by: j-ster on December 22, 2009 11:40 AMWonderful! I always love your trees…in fact, that is what led me to share your blog.
Thanks for explaining the thought and care that went into it. My first thought was “How lucky that she had that many green books.” (hee…or ho-ho?)
Posted by: Rebecca on December 24, 2009 04:11 PMits awesome! i love it!
Posted by: on December 29, 2009 01:07 PMoh shoot, how i wish i’d seen this earlier…
its the best tree i’ve seen this year!
jee whizz…
I love this.
Posted by: magpie on January 1, 2010 09:49 AMLove it. Very clever and lovely. I don’t know if I could force myself to drill through the spines though… guess I’m still afraid I’ll get in trouble with the Great Librarian.
Posted by: Susafina on January 9, 2010 01:25 PM